You are fist going to want to go ahead and login to your Groop account and this can be done at this link here - https://my.groop.com/login
Step 1 - People
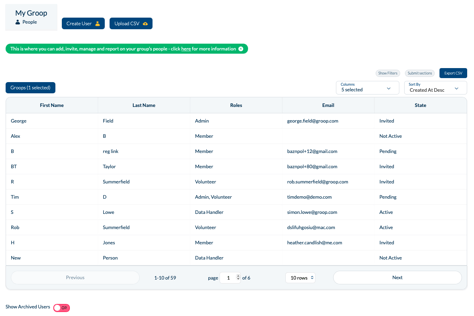
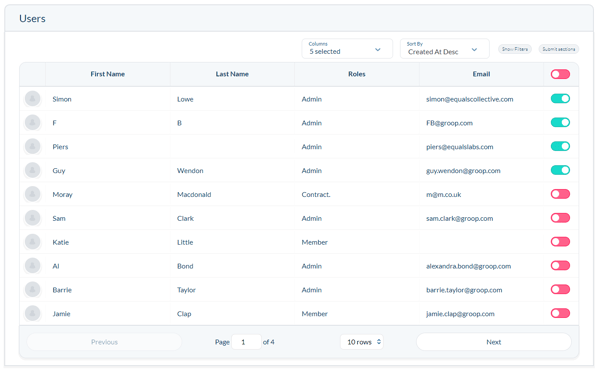
Once logged into the system the fist step is to go to your ‘People’ database.
Here you can add new people to your group by clicking (Create User) and see an overview of the users that you have added.
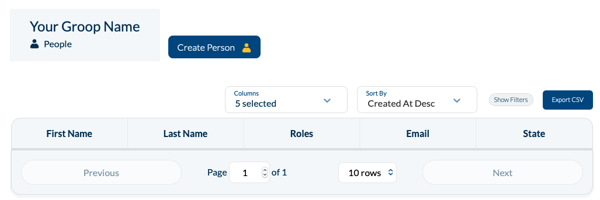
Creating a person is an easy process
- From within the 'People' area click 'Create Person'
- Enter the persons details (complete fields necessary for your group)
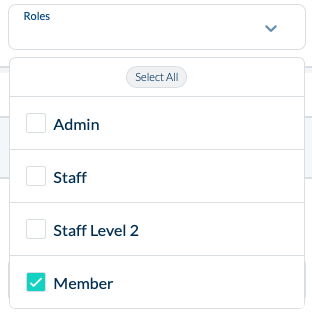
- Choose from the dropdown which role this person has -

- When complete click 'Create User'
- At the bottom of the screen you will see the option to 'Invite User', this will send an invitation for the user to create a login for the platform to access the areas defined by their role. An email address is required to create a login, a user cannot be invited without one.
- If there is data you require to record which does not appear on the default form can, you can create custom fields which appear in the user record.
For further information on the People section then please click here
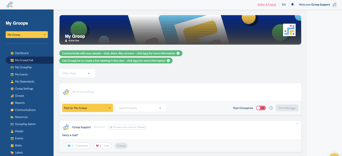
Step 2 - Communicating
The Groop platform allows you to communicate in many ways with your users including email through the Communications area of the platform GroopChat and Communications.
GroopChat
- Click on your Groop icon in the top left corner to be taken to the message feed
- Create a new thread for everyone to see by typing a message in the “Write something” box at the top of the page
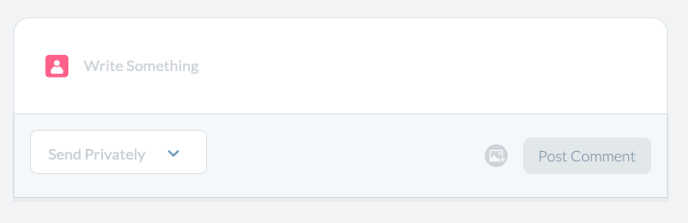
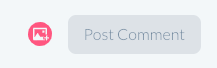
3. To attach images or files, click the small attachment icon
4. You can also comment on previous posts by clicking on the post and typing in the box below
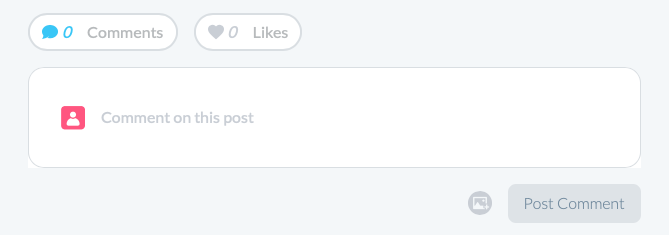
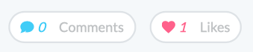
5. To like a comment click the “Heart” button
Whenever a new post is created or one of your posts is commented on you will receive a notification.
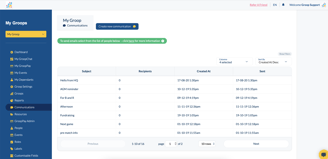
Email Communication
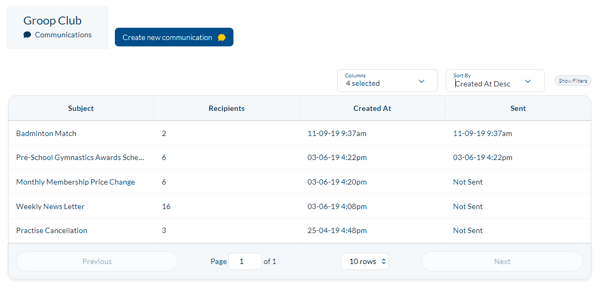
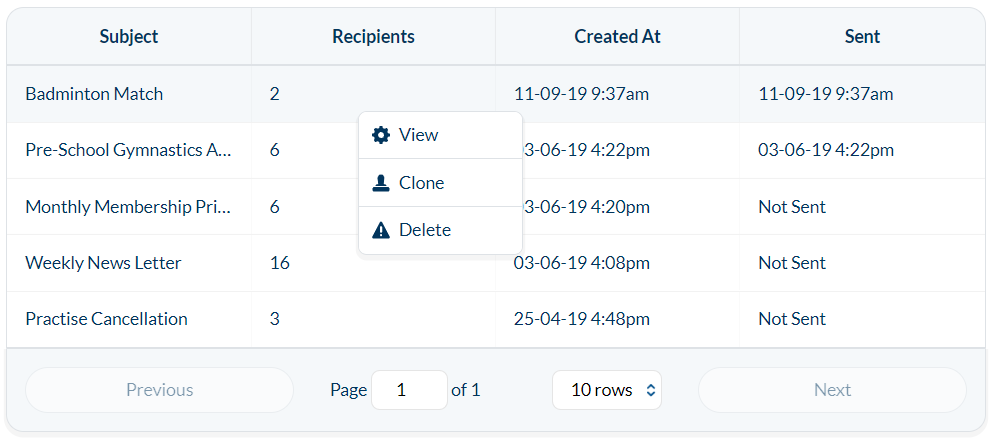
- You can see an overview of all the emails you have sent on the main communications page
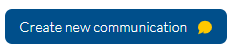
- To create a new email simply go to
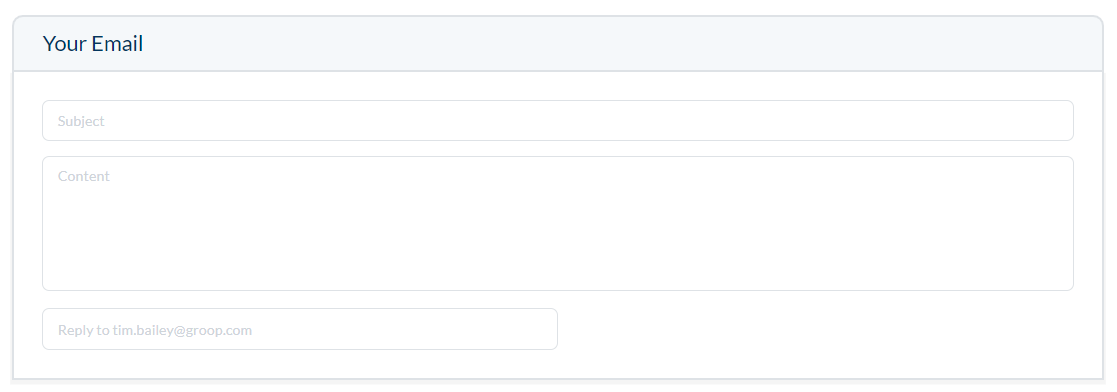
- You can now create your email with the Subject and Content. The reply email will be the email of your Groop account. You can change this by replacing it with an alternate address.
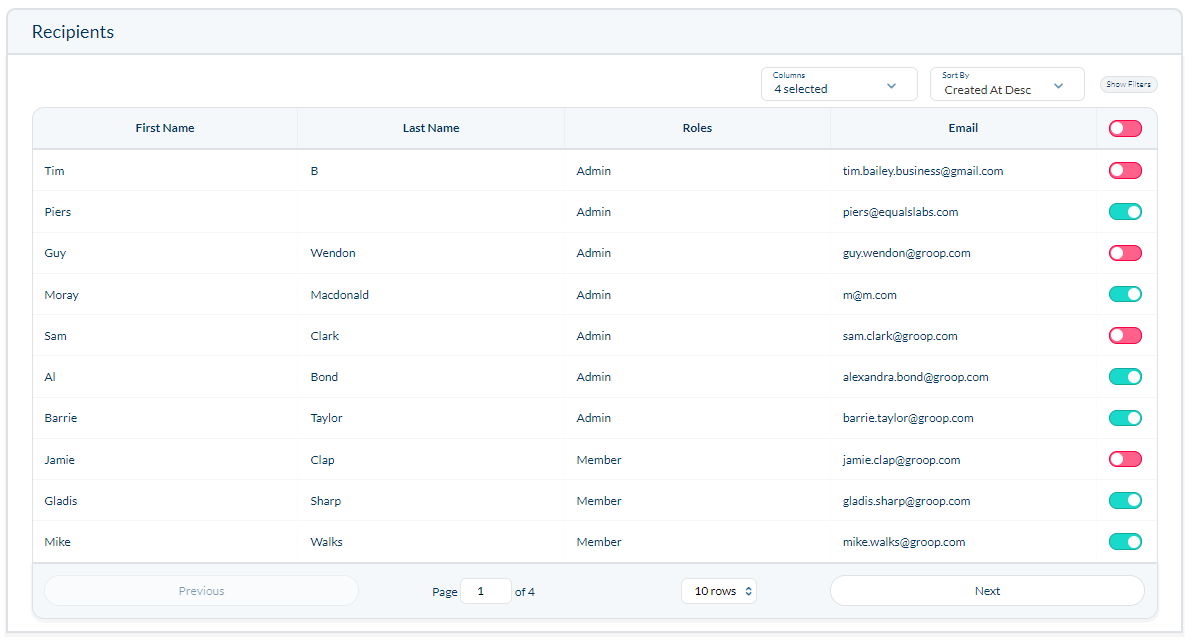
- Once you're happy with the information that you have entered you can filter the users and select the recipients by moving the slider from
 to
to 
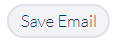
- You can save your email to send at a later date via the
 if required
 - Once you're happy you can send the email
- When back in the main Communication page you can also View sent emails, Clone emails and also Delete any that are no longer needed.
Step 3 - Events
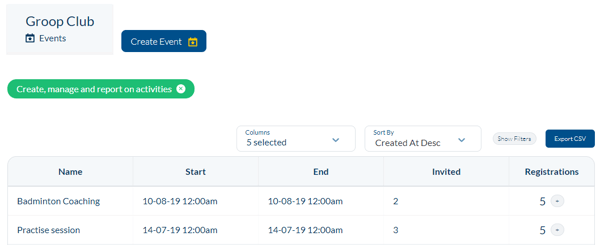
You can create new events when in the Events section of the navigation bar....Here you will see and overview of all your activities, sessions and events that have been created....You can also Edit, Delete, Clone, Download and Repeat your events that have been created....Depending on if you have created any customisable fields for events these will appear in an addition tab called Custom Fields.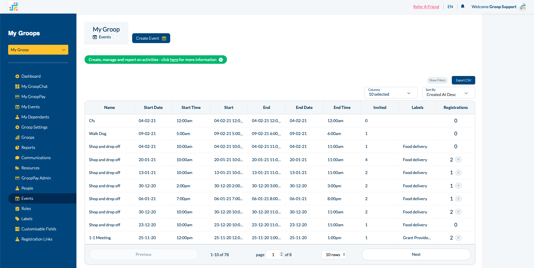
- When at the main Events page creating an event is simple and easy.
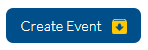
- To create an event simply click the
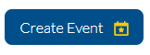 button at the top of the page.
 - From here you have a number of different options to choose from

- Within this area you can now add in your overall event details. If your event requires a payment you can turn this on or off by the switch on the Events Details page to make the payments tab visible.

- To make this an online event simply move 'GroopLive Online Event' to green. To find out more about GroopLive Online click here

- You can now give your events labels as one of the many ways to then report on your events created. To find out more about labels and reports follow these links - (reports needed) Creating Labels.

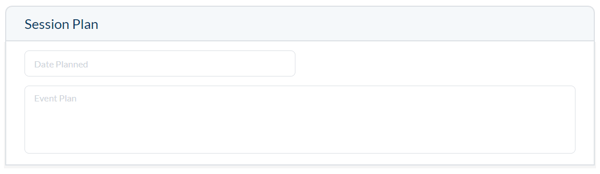
- When in the Plan tab of events you can add your events plan and the date it was planned
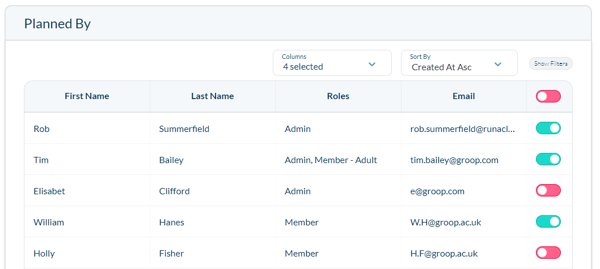
- You can also add who the event was planned by by moving the slider from
 to
to 
- You can invite active users to an event for them to respond to your RSVP with the three choices. I'm Going, Not Going and Undecided. (For more information on how a recipient process the invitation click here) From within the Invited tab you can simply choose who it is you want to invite by filtering this list by via
 and then by moving the slider from to .
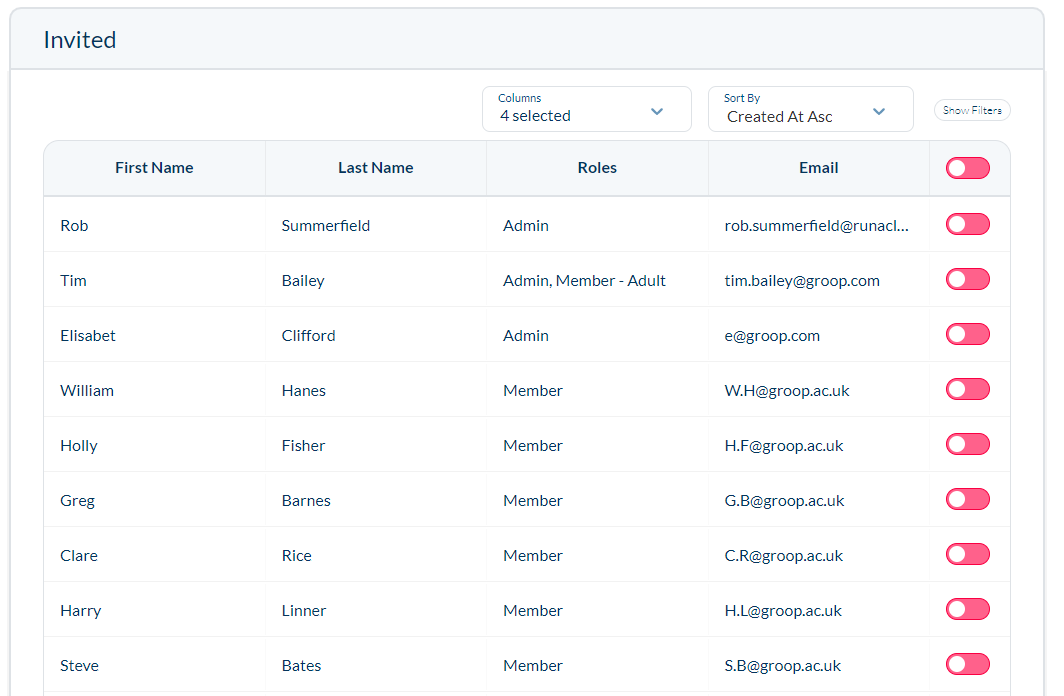
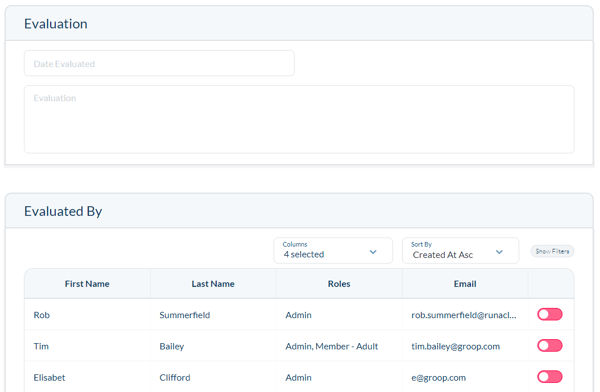
- The Evaluation tab allows you to add in details about how the session went and who it was that evaluated it. Any information recorded here can be filtered and reported on.
- If you have created a customisable fields for events they will appear in your 'Event Details' tab underneath 'Labels'
- Once you're happy with all of the details that you have entered you can then hit the
Step 4 - Subscriptions / Invoices
Here you can collect and manage payments and subscriptions within your groop or organisation.
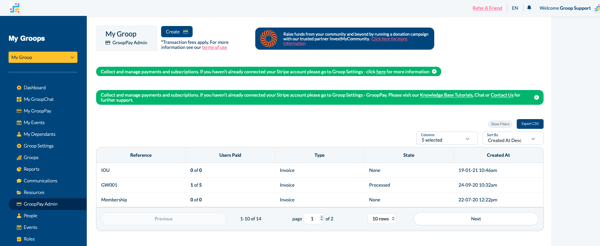
- When in GroopPay Admin you will see an overview of all your invoices.
- You can filter this list via Show Filters and can also run reports by clicking Export CSV.
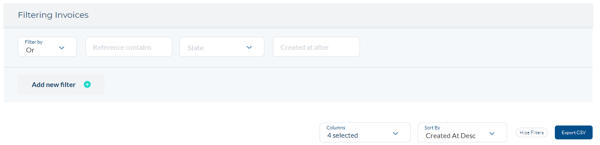
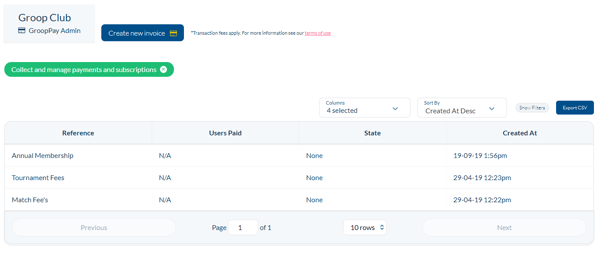
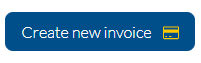
- To create an invoice click
- Here you can add in your invoice information, the Amount and Reference.

- You can then add the recipients you wish to send the invoice too and can filter this list via Show Filters.
- You can also associate Labels with your invoice and to find out more about Labels Click Here

- You can also add a message to your invoice.

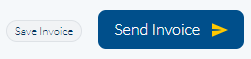
- Finally you can Save the invoice or Send it straight away.
Step 5 - Resources
The resources section of the Groop Platform allows you to Securely store important documents, Access the Groop governance library and templates.
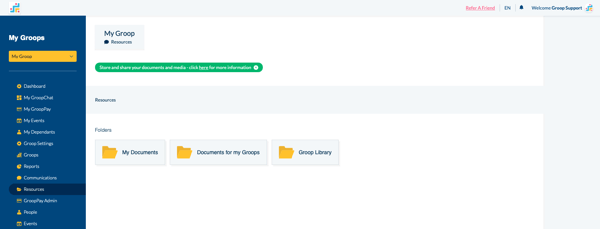
- You can upload files within the Resources area of the Groop platform. To find out more about how to upload files Click Here.
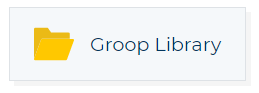
- To access Groops library of quality assured materials click Groop Library.
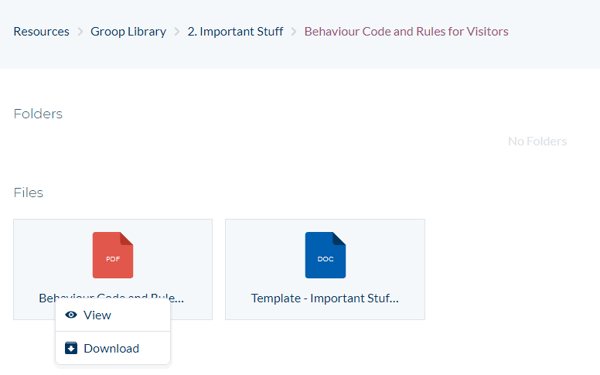
- Here you can see and access all of the policy's and procedures
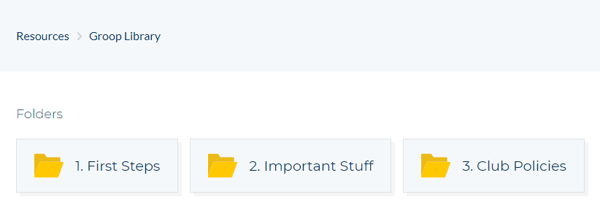
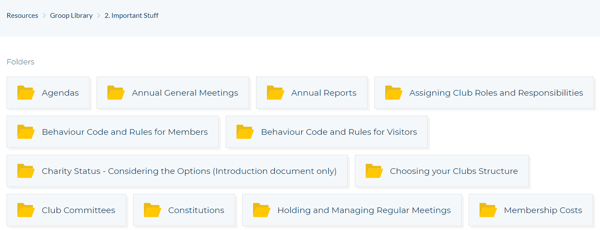
- Inside here you can then choose from a number of the different Groop Policy's
- After you have chosen the policy or document you wish to edit you can then View or Download it.
- Once you have then edited the necessary information you can upload the document back into your documents.
- If you're apart of a hierarchy you will see an additional folder called Documents for my Groops

- This folder enables the overarching organisation to add files and policies to this folder which are then inherited by the sub-groops beneath it. This means that you only have to share a document once, in once place and all your sub-groups will receive this.
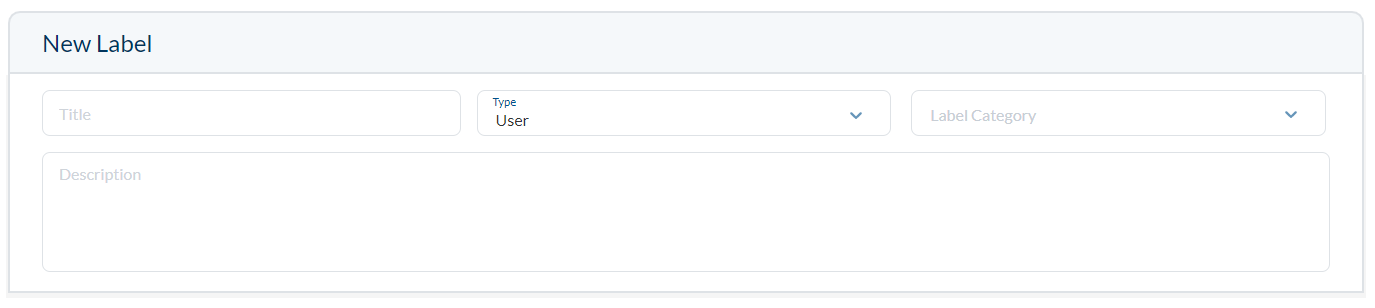
Step 6 - Labels
Labels can be applied to People, Events and Invoices to make them easier to find, use and report on.
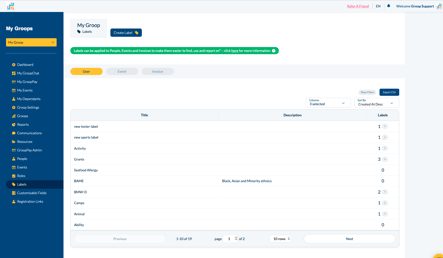
- To create a label navigate to the label management area.
- Choose which type of label you would like to create from User, Event or Invoice and click Create Label

- Here you can add necessary details and then click Create Label
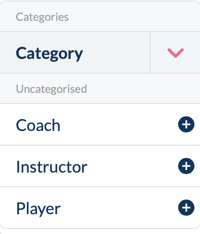
- You can also use an existing label as a category to aid organisation.
Applying labels
You can use the labels that you have created in the three different areas of the platform People, Events and Invoices. Below is an example of the labels used in the People section but is the same principle for the other two areas.
- Click on a persons record you wish to apply the label to and choose Edit. This will be done within the People area.
- Scroll to the labels section and click the Add Label box

- Start typing the name of the label you wish to apply or use the drop down choice to select a label or expand a category. The more characters typed the less choices will be available.
- Select the label(s) you wish to apply and click Update User.
Step 7 - Customisable Fields
Adding custom fields enables you to add specific information in specific areas on the Groop software that isn't available otherwise. You can add customisable fields to People, events and Groop Details.
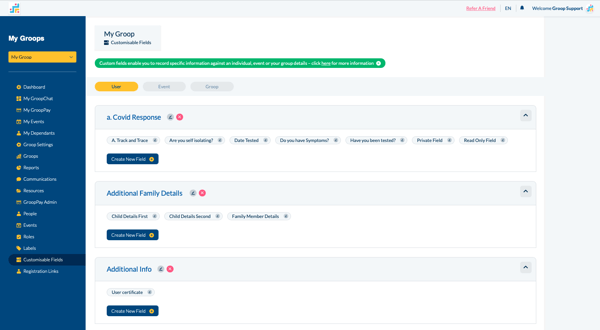
- On the Groop Software, head to the Customisable fields area.

- Once at the customisable fields you can then choose which type of customisable field you would like to create or edit.

- Click the
 in your chosen area.
 - A new field will appear, here you can change the Title by clicking the
 icon and delete the new filed by clicking the
  icon.
icon.
Areas are displayed alphabetically. If you would like them to be displayed in a specific order simply title each with a letter first ie. a) Additional information - b) Extra Details - c) Any Further Data
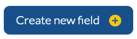
- Add a new field to this by clicking
- Upon clicking this you will see this pop up
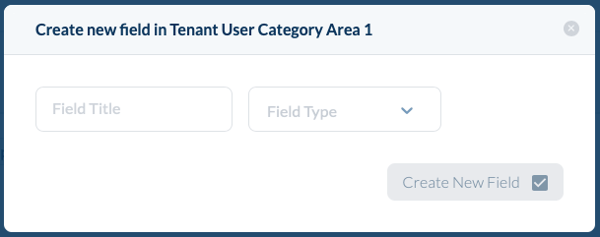
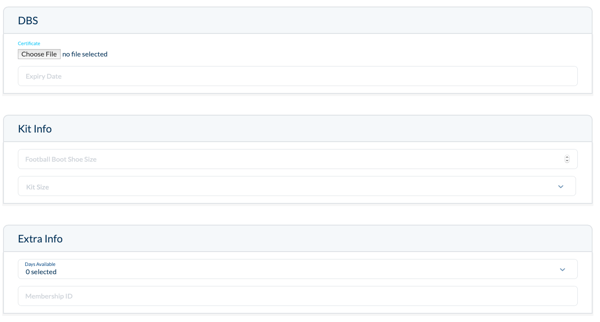
- Here you can give field a title e.g. DBS Certificate, Shoe Size, Days Available.
- Depending on your Field Title this will determine the Field Type that you will choose.
- You have a number of Field Types to choose from;
- Text - This is a small text box for 'shorter' written answers
- Textarea - This is a larger text box so that more detail can be added
- Number - This is a number picker e.g. Shoe Size 9.5
- Date Time Picker - This allows you to pick dates and times
- Select - This is just a single select option e.g. Yes or No
- Multiple Select - This allows you to select multiple options from your created list e.g. I can volunteer on Monday, Wednesday and Sunday.
- File - This allows you to upload a file e.g. SafeGuarding certificate, Coaching Qualifications.
- Once you have completed your chosen options then you can click
- If completed correctly will show in your Customisable Fields area like so.
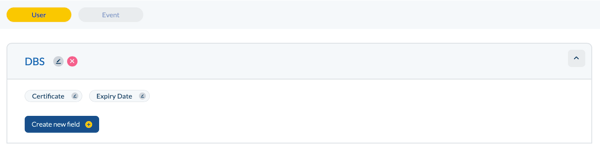
- You can also see your finished Customisable Fields in the area that you created it under
- To edit any of your Custom Fields simply look for the
 icon. This will enable you to change the Title and the Field Type once you have amended your fields simple click