- Introduction
- Let’s get started
- Setting up your Members, Volunteers and Staff
- Setting up labels
- Customisable fields
- Setting up your events
- Communication
- GroopPay
- Resources
- Mobile App
- Support
1. Introduction
Many thanks for choosing to record your club’s data on Groop. This guide will help you set up your club.
Groop provides you with a range of tools to:
- Record and manage your members and staff team, including volunteers details
- Communicate with staff, volunteers and members
- Plan and evaluate weekly sessions
- Report for monitoring and evaluating work and reporting to management meetings and funders etc
- Add specific information using custom fields and labels to people, events and invoices, e.g. subscriptions, to make them easier to find, use and report on.
Your Groop account is available via a WebApp or via a MobileApp.
Please remember: Groop is only as good as the information it holds – you can only get out what you put in. It is important to ensure you have a consistent approach to recording data and keep the information up to date on a regular basis.
2. Let’s get started
For a video guide on how to set up your club, please first watch the get started tutorial –
We suggest reading through the whole guide first so that you have an overview of Groop before you start to do anything.
1. Invitation to your Groop account
You will receive an invitation by email to join Groop. (Please check junk / spam folders)
To ensure that you continue to receive important emails and notifications from Groop, please add noreply@groop.com to your email provider's safe senders list to prevent them being incorrectly marked as spam.
You simply need to choose your GDPR preferences and set up your own password.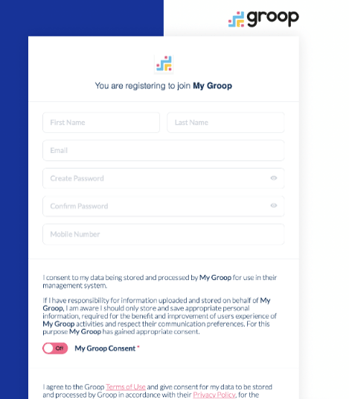
2. Logging into your Groop account
Go to www.groop.com and click on the Login to your Groop icon on the top right-hand side of the webpage or use this link: https://my.groop.com/login.
You need to add your email and password to access your Groop account.
3. Setting up your Members, Volunteers and Staff
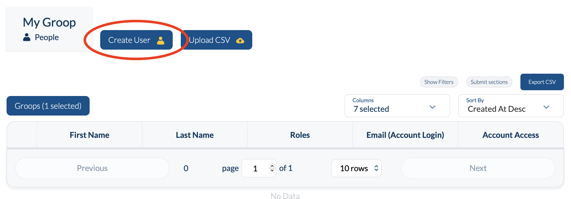
Your first step is to set up your members and staff team in your People database via the option in the navigation bar.
- From within the People area click Create User
- Enter the persons details (complete fields necessary for your group)
- Choose which Role this person has will only be possible if you are an admin of the group. If not you can still create a user but their role will be added as the standard 'User' role.
- To help you to organise your club you can add roles
- Default roles supplied are Admin, Staff and Member
- You may also wish to create your own. e.g. Sports Coach, Trainer, Mentor, etc
- Each role can be given different privileges to access areas on Groop
- For more information on how to setup Roles - click here
- At the bottom of the screen you will see the option to Invite User, this will send an email invitation for the user to create a login for the platform. An email address is required to create a login, a user cannot be invited without one.
- When complete click Create User
- If you want to record any data that is not in Groop’s default data set, you can create custom fields and labels which will then appear in the user record.
- Click here for more information on Custom fields
- Click here for more information on Labels
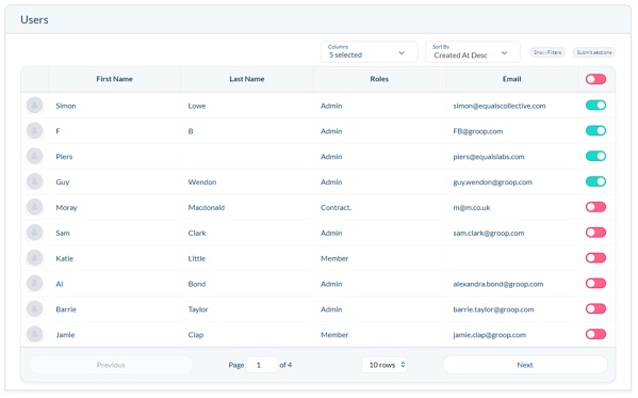
- Once you have entered all of the necessary people, you will see them listed in the overview table
- For more information on People and how to upload a CSV - click here
4. Setting up labels
Labels can be applied to people, events and invoices to make them easier to find, use and be report on.
It is up to your club to decide what labels you want to use, e.g.
- Separate your events by using labels, e.g. Football, Arts & Crafts, Music, Tues Night Youth Club, Junior Club Night etc.
- Organise people with sub groups, criteria or outcomes e.g. Team A, Under 12s, Improved Mental Health
- To create a label click Labels on the menu bar
- Choose which type of label you would like to create from User, Event or Invoice and click Create Label
- Add the necessary details and then click Create Label
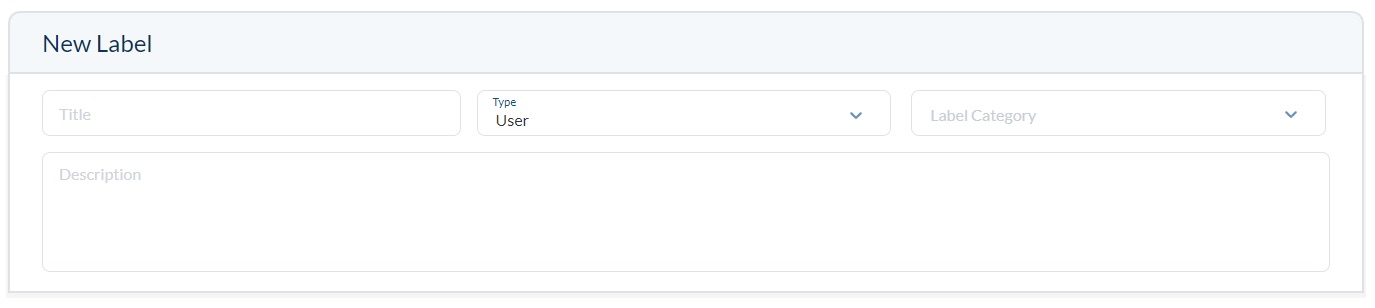
- You can also use an existing label as a category to organise and categorise
- You can use the labels that you have created in the three different areas of the platform People, Events and Invoices. Below is an example of the labels used in the People section but is the same principle for the other two areas.
- For more information on Labels - click here
5. Customisable fields
Customisable fields can be used to add specific information to a person or an event
- Click on the Customisable Fields on your menu bar
- Choose which type of customisable field you would like to create

- Fields are grouped into areas. To create your first area click Create Custom Field Area
- Within the new area, add a new field by clicking
- Upon clicking this you will see this pop up

- Here you can give field a title e.g. DBS Certificate, Shoe Size, Days Available.
- Choose a Field Type that records the type of information required
- Text - This is a small text box for shorter written answers
- Text Area - This is a larger text box so that more detail can be added
- Number - This is a number picker e.g. Shoe Size 9.5
- Date Time Picker - This allows you to pick dates and times
- Select - This is just a single select option e.g. Yes or No
- Multiple Select - This allows you to select multiple options from your created list e.g. I can volunteer on Monday, Wednesday and Sunday
- File - This allows you to upload a file e.g. Safeguarding certificate, Coaching Qualifications.
- Once you have completed your chosen options then you can click
- The resulting fields are displayed as shown
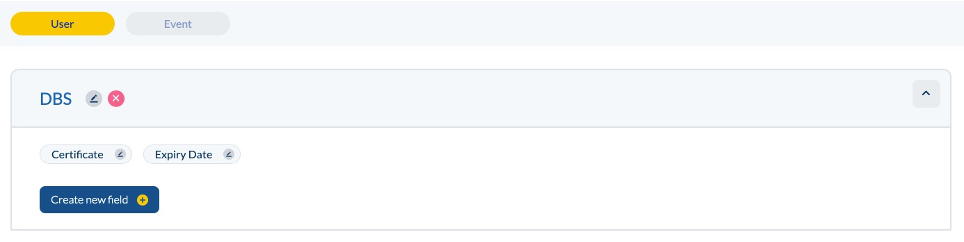
- To rename a field or area, click the
 icon
icon - To delete a field or area with all its fields click the
 icon. All corresponding data will be removed and cannot be restored.
 -
Areas and fields are displayed alphabetically. If you would like them to be displayed in a specific order simply title each with a letter or number first ie. a) Additional information - b) Extra Details - c) Any Further Data
- For more information on Custom Fields - click here
6. Setting up your events
Events is where you can create and record sessions/activities.
- When at the main Events page creating a session is simple and easy.
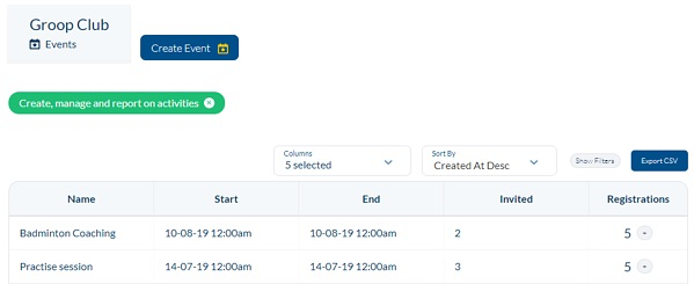
- 2. To create a session simply click the Create Event button at the top of the page.
- Within this area you can now add in your overall event details.

- To make this an online session simply move GroopLive Online Event to green. To find out more about GroopLive Online click here

- You may want to give your sessions labels as one of the many ways to then report on your sessions created. To find out more about labels - click here

- When in the Plan tab of events you can add your event plan, who it was planned by and the date.
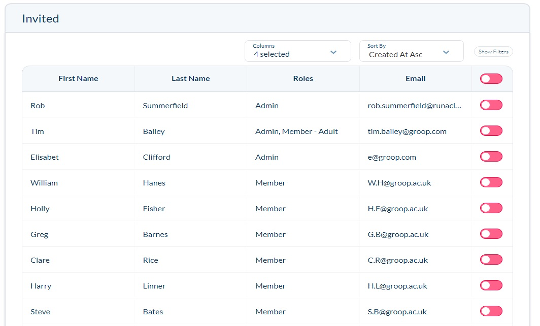
- You can invite active users to a session and they can respond to your RSVP with the three choices. I'm Going, Not Going and Undecided.
- You can chose who to invite to a session by filtering the list and then by toggling the switch.
- The Evaluation tab allows you to add in details about how the session went and who evaluated it. Any information recorded here can be filtered and reported on.
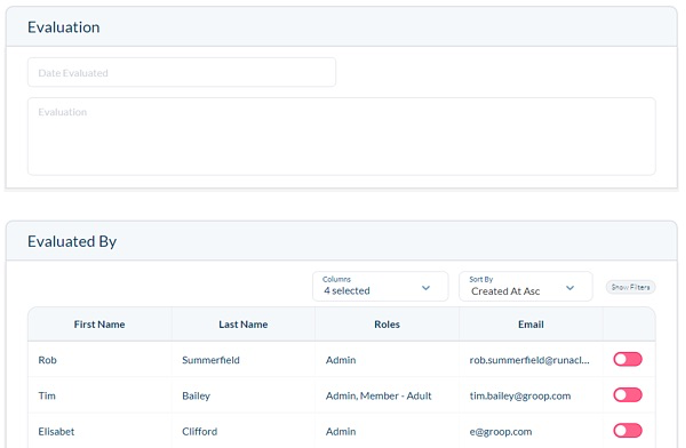
- If you have created a customisable fields for a session. These will appear in your Event Details tab underneath Labels
- Once you're happy with all of the information that you have entered, check within the overview tab and click Create Event
- The Events over view displays all events both past and future. You can Edit, Delete, Clone, Download and Repeat your events that have been created.
- For more information on Events - click here
7. Communication
Groop provides tools that allow you to communicate with your members and staff team, including email, GroopChat and GroopLive.
GroopChat
- Groopchat can be accessed from My GroopChat in the navigation bar.
- Create a new post for all active accounts to see by typing your message in the “Write something” box at the top of the page.
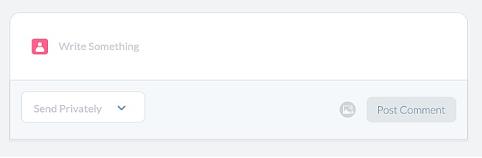
- To attach images or files, click the attachment icon
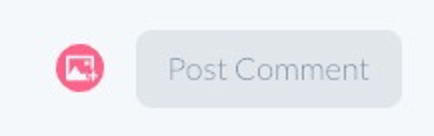
- You can also comment on previous posts by clicking on the post and typing in the box below
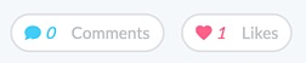
- 5. To like a post click the Heart button
- For more information on GroopChat - click here
Email Communication
- To create a new email use the Communications option in the navigation bar
- You can now create your email with the Subject and Content. The reply email will be the email of your Groop account. You can change this by replacing it with an alternate address.

- Once you're happy with the information that you have entered you can filter the users and select the recipients by toggling the slider.
- You can save your email to send at a later date if required.
- Once you're happy you can send the email
- You can see an overview of all the emails you have sent on the main communications page
- For more information on Communications - click here
You can only choose a recipient for email communication if their GDPR communication preference is set to 'Yes'
8. GroopPay
Here you can collect and manage any payments and subscriptions for events or membership if applicable to your group.
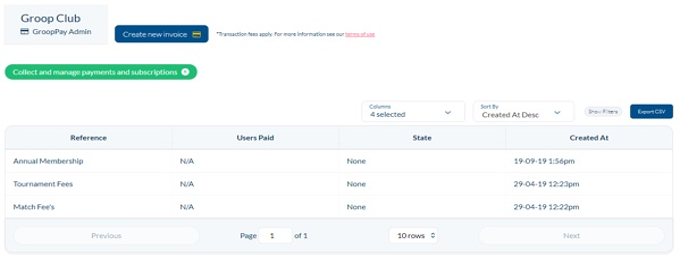
- To create an invoice go to GroopPay Admin and click Create New Invoice
- Here you can add in your invoice information, the Amount and Reference.

- You can then add the recipients you wish to send the invoice to and can filter this list via Show Filters.
- You can also add a message to your invoice.

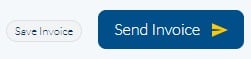
-
Finally you can Save the invoice or Send it straight away.
- When in GroopPay Admin you will see an overview of all your invoices.
- Recipients who can login to Groop can find the payment request in My GroopPay. Recipients without a login will receive an email containing a link to pay online.
- The recipients can pay online by credit/debit card or if they pay by any other means, this can be recorded against each persons invoice request.
- For more information on GroopPay - click here
To send invoices from Groop, a Stripe account is required. For information on how to setup a Stripe account - click here
9. Resources
The resources section of the Groop Platform allows you to securely store important documents and to access the Groop governance library and templates.
- You can upload files within the Resources area of the Groop platform. To find out more about how to upload files - click here
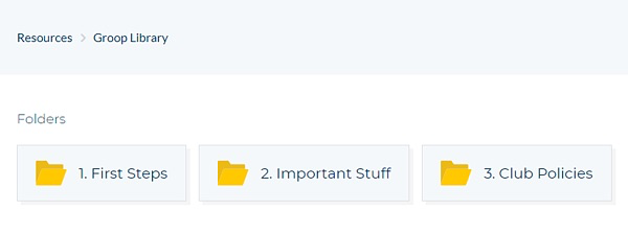
- Groop has a library of quality assured materials – to see these click Groop Library.
- Here you can see and access all of the guides and templates
- These guides and templates can be downloaded and customised to suit your needs and then uploaded into My Documents
10. Mobile App
Groop’s mobileApp has been developed to support your members and staff teams to access Groop, engage through GroopChat, see their events and make payments .
The Groop mobile app is available on IOS and Android please follow the steps below on how to install this.
• iOS Link - https://apps.apple.com/gb/app/groop/id1478623951
• Android Link - https://play.google.com/store/apps/details?id=com.groop.groop
Once downloaded and installed, when you load the app you will be greeted by the login page. Here you can use your login information and access all of your groups on the go.
11. Support
For further information to support you to use Groop, click on the green bubbles within the site – these will link you to Groop’s knowledge base articles and videos, or contact the Groop Customer Support Team by clicking on message icon in the bottom right-hand corner of your screen when you are in Groop.