- When in Groop you will find the Registration Link available in the menu bar.

- This will take you to the registration link page, here you can Create your new Registration Link.
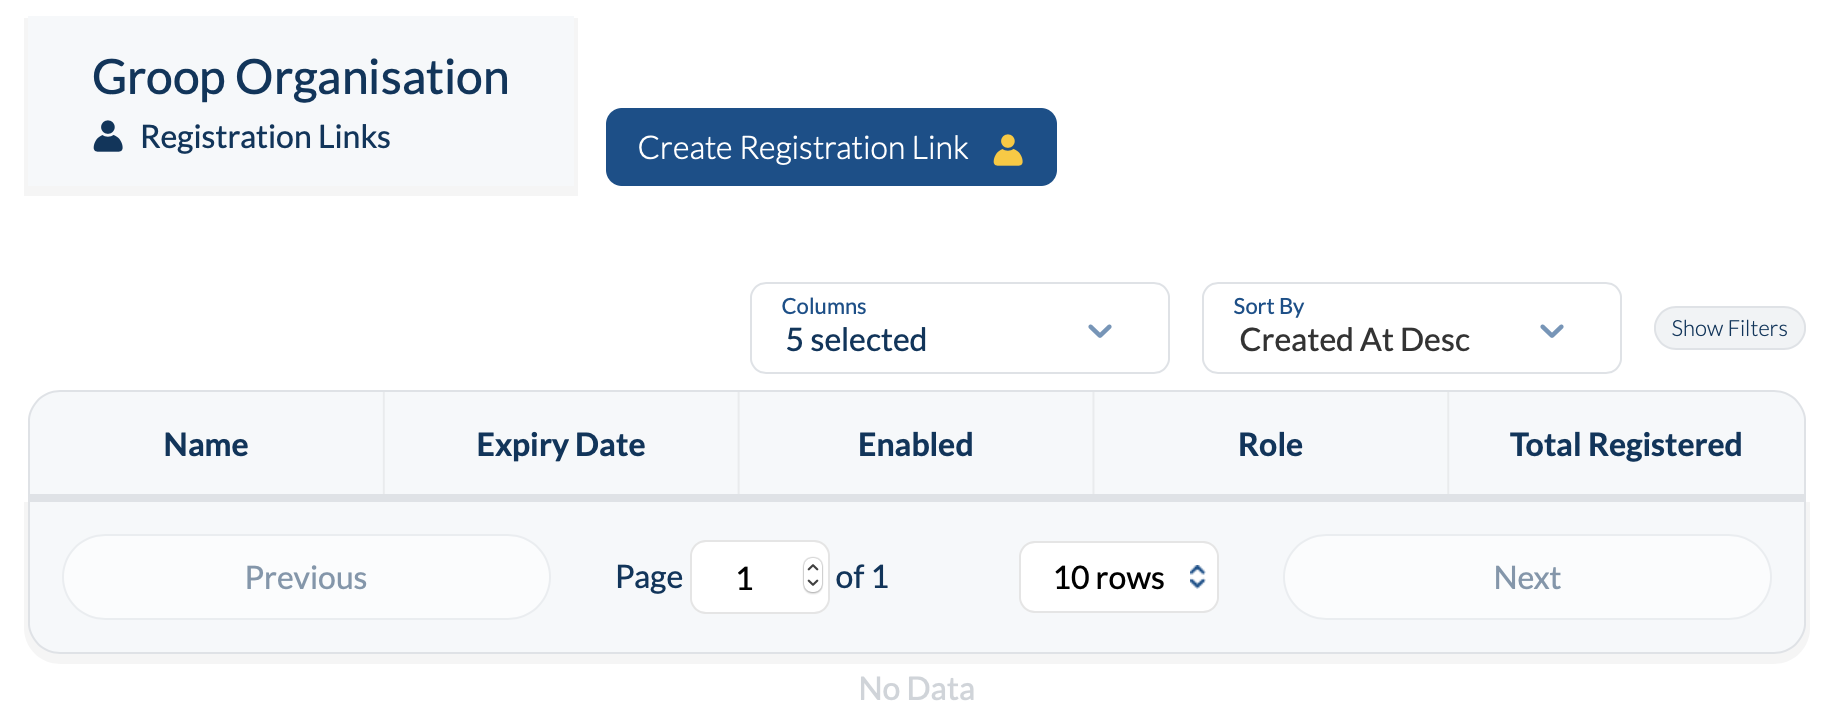
- Click Create Registration Link
- Here you can now add in the necessary information regarding the link
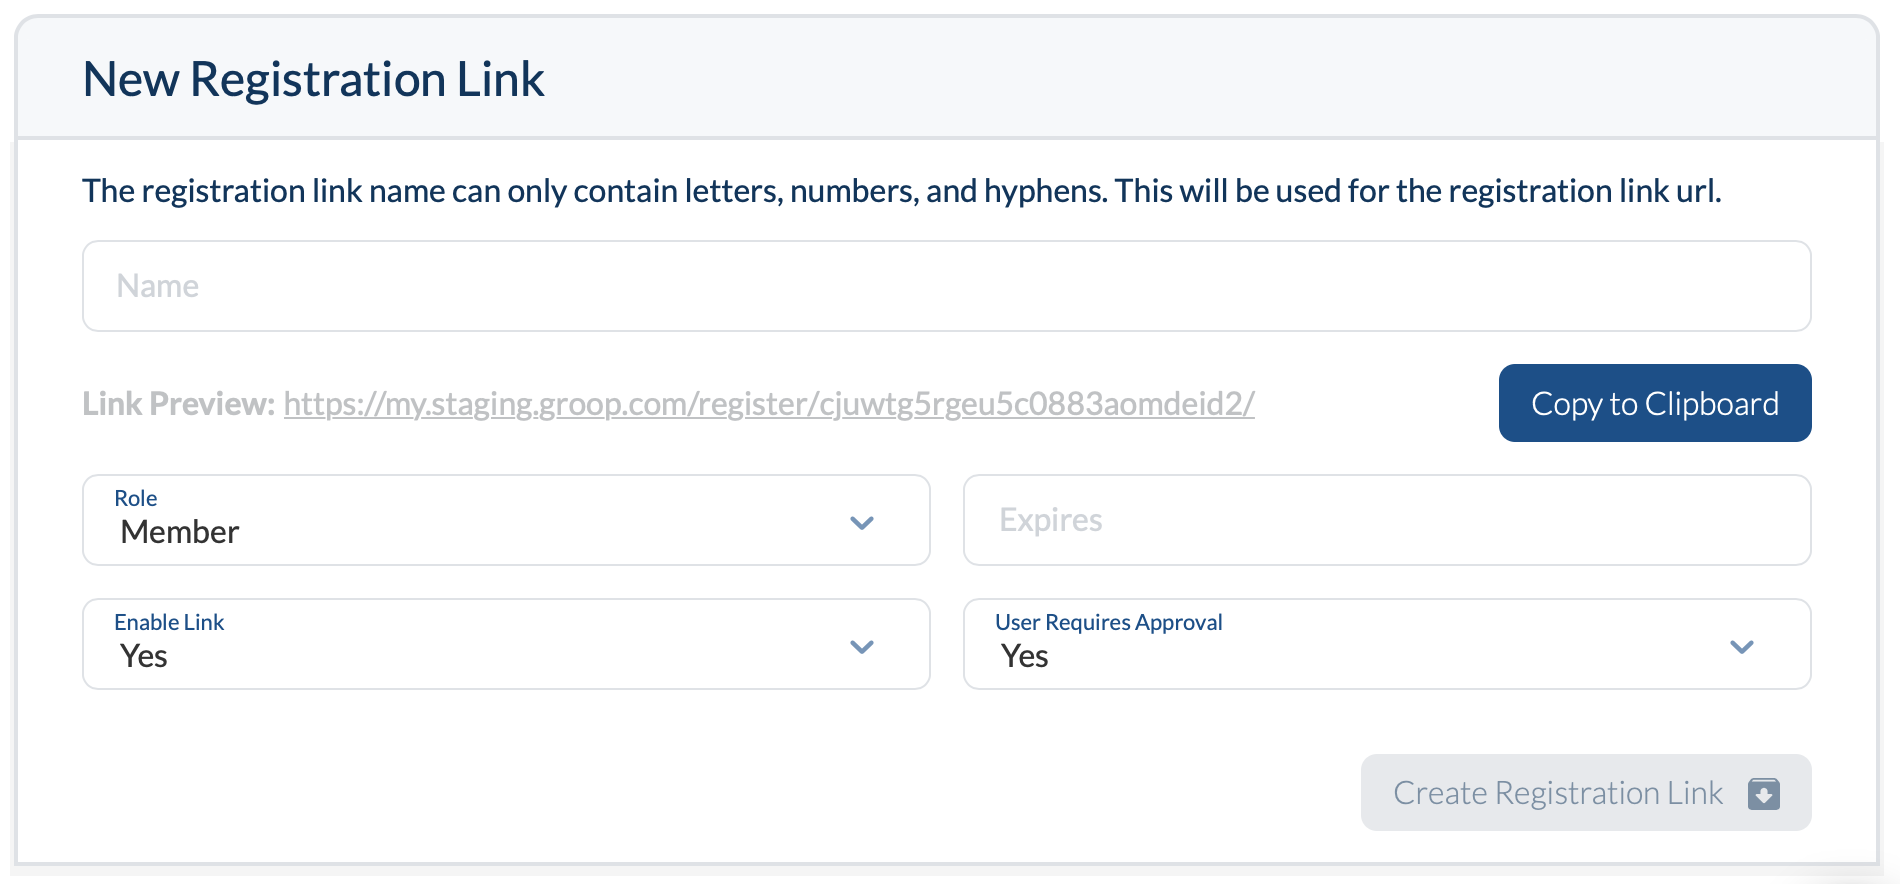
- The Name of your link will be added to the Link Preview so that you can see what this will look like.
 *Please note that the link name can only contain Letters, Numbers and hyphens*
 - The next steps to take regarding your registration link are the remaining four boxes
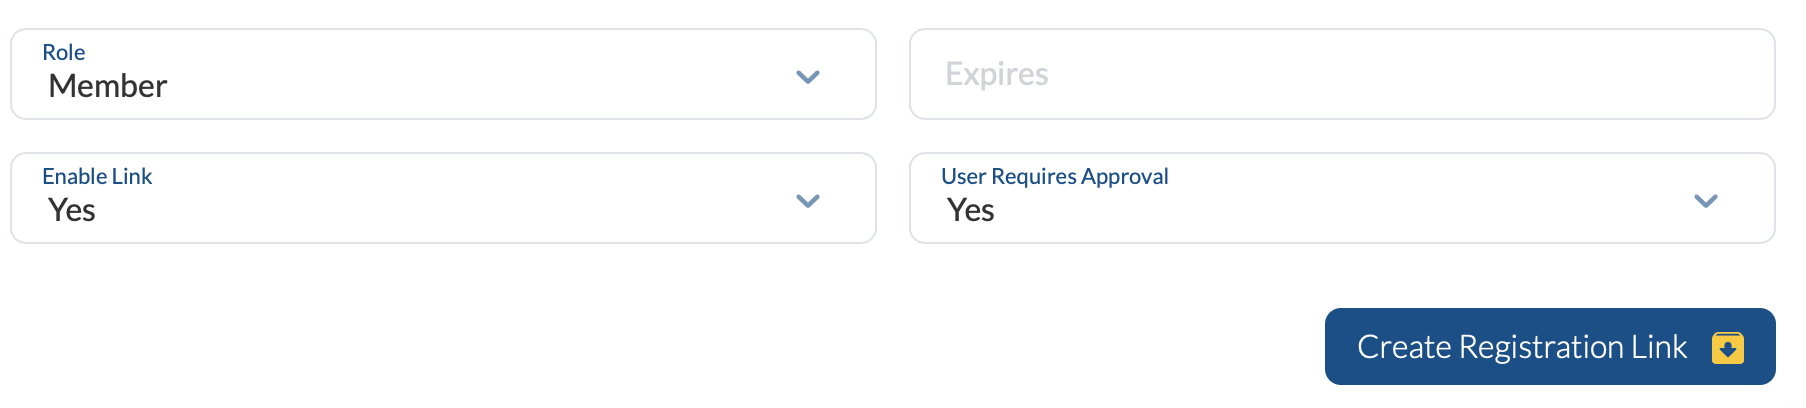
- Role, here you can select the your created roles that the users register into the group as. In this example I have chosen member, however this could be: Parent, Volunteer, Coach, Staff etc.
- Expires, You can choose if the link has an expiry date. For example the link is active for the week duration of your project.
- Enable Link, this allows you to make the link active or not, an on/off switch. If you wish to disable the link at any point, set this field to No.
- User Requires Approval, Upon new users registering with this link, you can decided if they have access to the group. If the account requires approval another user with appropriate permissions has to manually approve the account. once they have been approved, they can access the features of Groop defined by their role.
- Notifications - here you can select users to receive a notification when a registration link has been completed
- Once you're happy with all the information, click Create Registration Link.
To find out more around about how to approve users from a Registration Link - Click Here
For more general information around Registration Links - Click Here