- When at the main Events page creating an event is simple and easy.
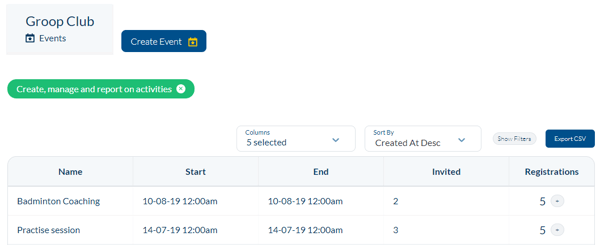
- To create an event simply click the
 button at the top of the page.
 - From here you have a number of different options to choose from

- Within this area you can now add in your overall event details. If your event requires a payment you can turn this on or off by the switch on the Events Details page to make the payments tab visible. (A linked payment account is required to enable payments)
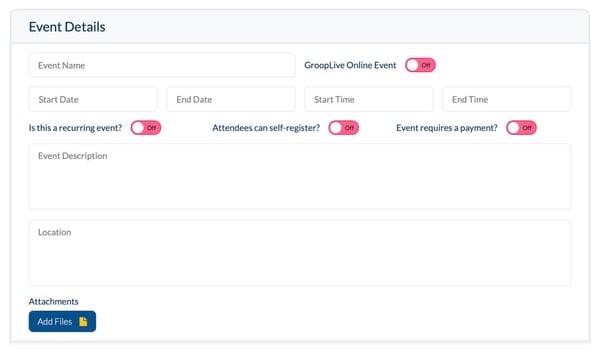
- To make this an online event simply move 'GroopLive Online Event' to green. To find out more about GroopLive Online click here

- For information about recurring an event - click here
- You can now give your events labels as one of the many ways to then report on your events created. To find out more about labels and reports follow these links - (reports needed) Creating Labels.

- When in the Plan tab of events you can add your events plan and the date it was planned

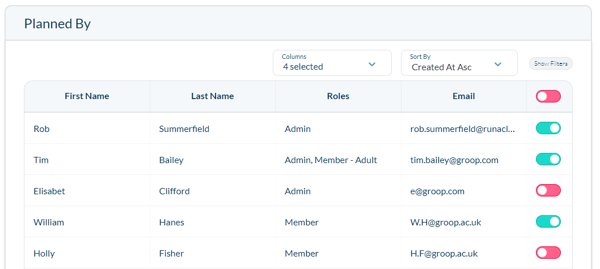
- You can also add who the event was planned by by moving the slider from
 to
to 
- You can invite active users to an event for them to respond to your RSVP with the three choices. I'm Going, Not Going and Undecided. (For more information on how a recipient process the invitation click here) From within the Invited tab you can simply choose who it is you want to invite by filtering this list by via
 and then by moving the slider from
 to
to  .
.
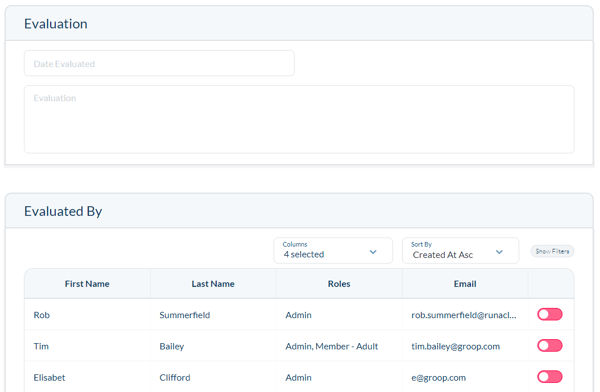
- The Evaluation tab allows you to add in details about how the session went and who it was that evaluated it. Any information recorded here can be filtered and reported on.
- If you have created a customisable fields for events they will appear in your 'Event Details' tab underneath 'Labels'
- Once you're happy with all of the details that you have entered you can then hit the

- You can edit Events when at the main events page by going to the event you wish to edit
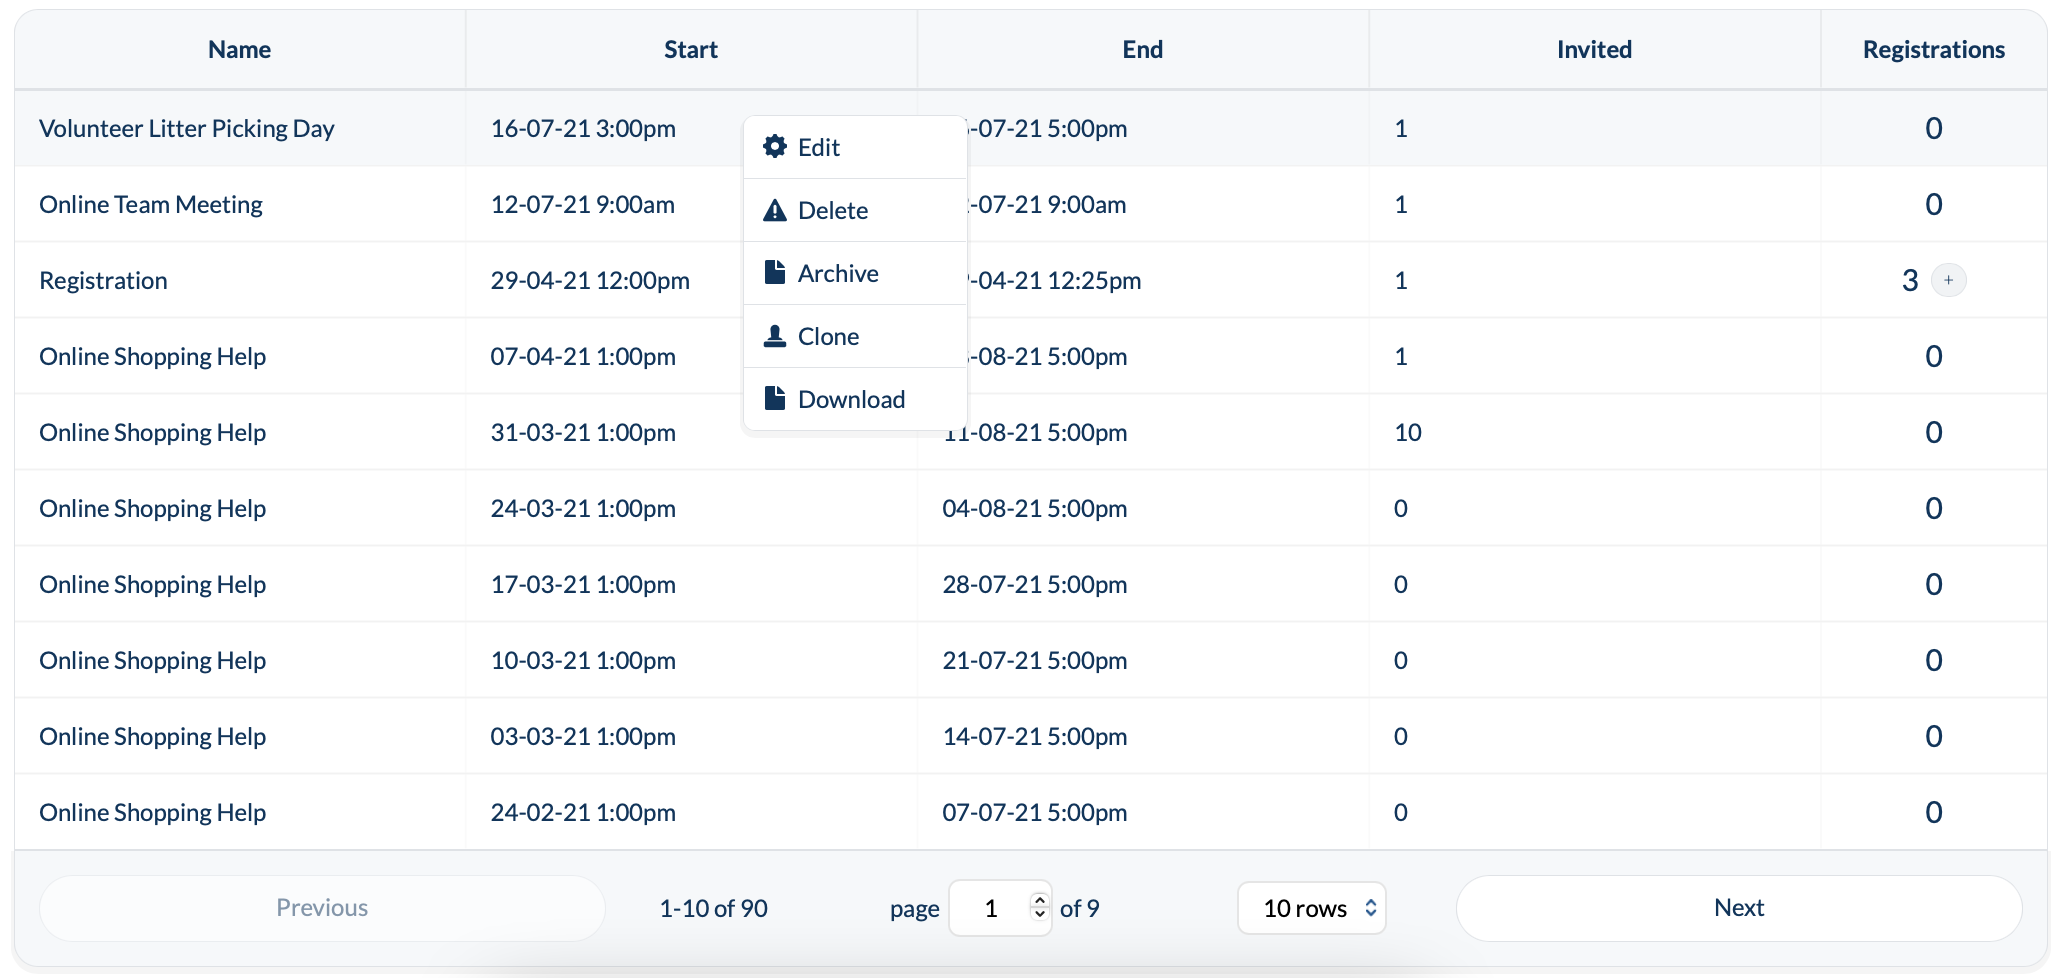
- From here you can then Edit your chosen event.
- Once you have finished editing click Update Event.