Custom Fields created for Interactions/Notes cannot be edited or deleted but additional fields can be added.
- On the Groop Software, head to the Customisable fields area.
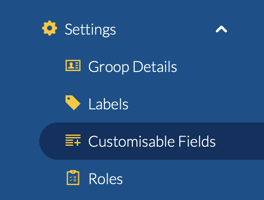
- Once at the customisable fields you can then choose which type of customisable field you would like to create or edit.

- Click the
 in your chosen area.
 - A new field will appear, here you can change the Title by clicking the
 icon and delete the new filed by clicking the
  icon.
icon.
Areas are displayed alphabetically. If you would like them to be displayed in a specific order simply title each with a letter first ie. a) Additional information - b) Extra Details - c) Any Further Data
- Add a new field to this by clicking

- Upon clicking this you will see this pop up
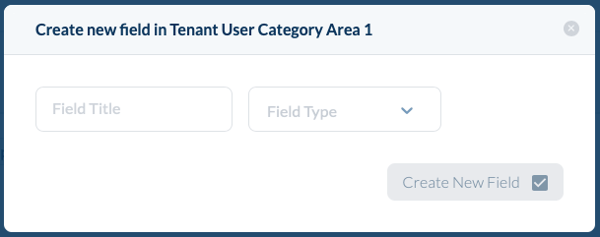
- Here you can give field a title e.g. DBS Certificate, Shoe Size, Days Available.
- Depending on your Field Title this will determine the Field Type that you will choose.
- You have a number of Field Types to choose from;
- Text - This is a small text box for 'shorter' written answers
- Textarea - This is a larger text box so that more detail can be added
- Number - This is a number picker e.g. Shoe Size 9.5
- Date Time Picker - This allows you to pick dates and times
- Select - This is just a single select option e.g. Yes or No
- Multiple Select - This allows you to select multiple options from your created list e.g. I can volunteer on Monday, Wednesday and Sunday.
- File - This allows you to upload a file e.g. SafeGuarding certificate, Coaching Qualifications.
- Once you have completed your chosen options then you can click
- If completed correctly will show in your Customisable Fields area like so.
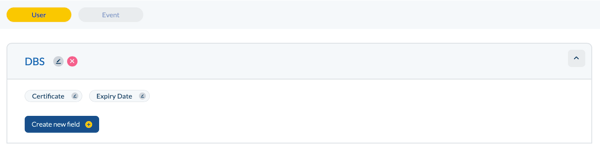
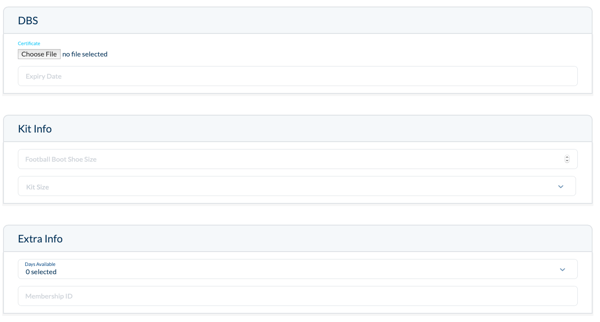
- You can also see your finished Customisable Fields in the area that you created it under
- To edit any of your Custom Fields simply look for the
 icon. This will enable you to change the Title and the Field Type once you have amended your fields simple click
Fields are displayed alphabetically. If you would like them to be displayed in a specific order simply title each with a letter first